Mastering the Art of Food Photography
Here’s a detailed “Mastering the Art of Food Photography” blog page draft that covers everything a reader would need to know to excel in food photography:
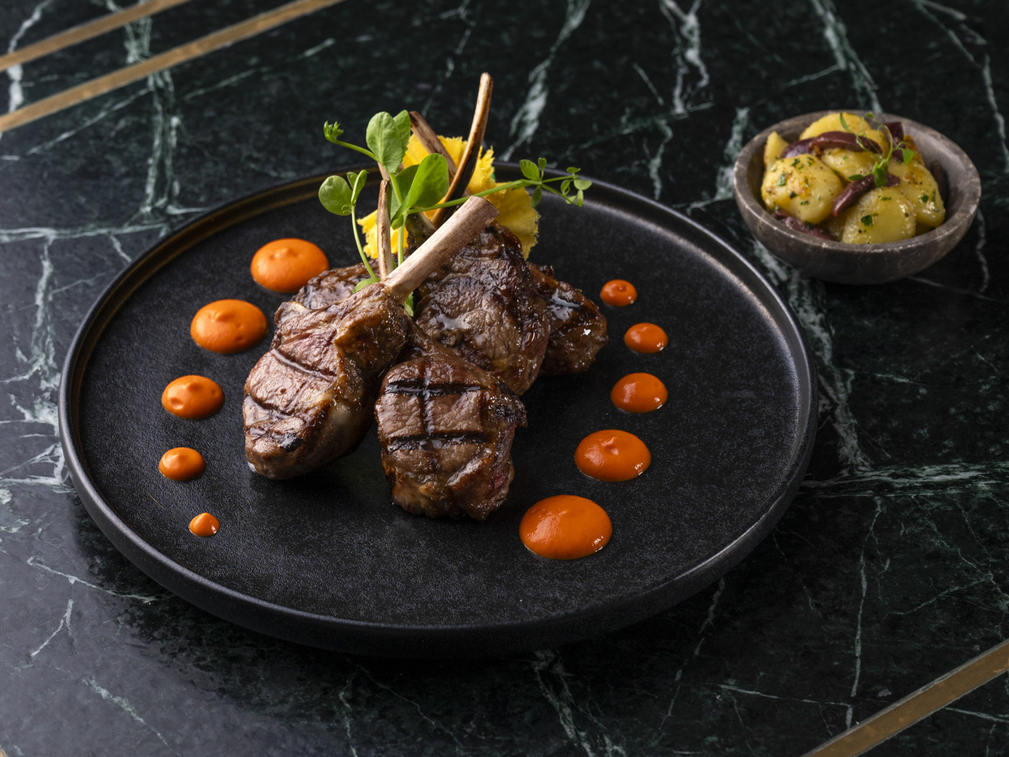
Mastering the Art of Food Photography
Food photography is more than just taking pictures of dishes—it’s an art form that brings out the beauty and emotion of what’s on the plate. Whether you’re a food blogger, chef, or restaurant owner, the ability to capture food in its most enticing form can make all the difference. Stunning food photography not only enhances the presentation of dishes but also ignites cravings, telling a story with every shot.
In this guide, we’ll break down the essential skills and tips you need to master food photography and create images that will leave your audience hungry for more.
1. Why Food Photography Matters
Good food photography can make your audience feel the dish. It can evoke emotions, trigger memories, and inspire hunger—all through the power of a well-composed image. In an age dominated by social media, food photography is a key tool for marketing and showcasing culinary art. Whether you’re creating content for a blog, social media, or a restaurant menu, captivating food photography is essential.
2. Understanding the Basics of Food Photography
Before diving into advanced techniques, it’s important to get the basics right. The following elements play a critical role in making your food photos stand out:
- Lighting: Natural light is your best friend. Soft, diffused sunlight brings out the richness and texture of food without creating harsh shadows. If you’re indoors, try shooting near a large window or under the light of an overcast sky. If you need artificial light, use a softbox or an LED panel to recreate the effects of natural light.
- Composition: Pay attention to how the food is arranged in the frame. The rule of thirds is a helpful guideline, but don’t be afraid to experiment. Try different angles (overhead, side, or 45-degree angles) and focus on creating a visual flow that guides the viewer’s eye.
- Backgrounds: Choose backgrounds that complement the dish. Neutral tones, rustic textures, or even colorful surfaces can add contrast without distracting from the main subject. Remember, simplicity often works best.
3. Lighting Techniques for Perfect Shots
Lighting is arguably the most important factor in food photography. Here’s how you can work with different types of lighting:
- Natural Light: Shoot during the “golden hour” (early morning or late afternoon) for the best diffused light. Position your food near a window with sheer curtains to soften the light.
- Artificial Light: If you’re shooting indoors and natural light isn’t available, you can use artificial light. A softbox provides even lighting, while a ring light can create a consistent, flattering glow.
- Backlighting: To capture the glow of a dish, try placing your food in front of a light source. This technique works great for dishes with liquid elements, like soups or drinks, as it highlights texture and depth.
4. The Right Tools for the Job
While professional cameras are ideal for high-quality food photos, you can still get great results with a smartphone. Here’s a breakdown of what you’ll need:
- Camera: A DSLR or mirrorless camera will give you full control over your settings (shutter speed, aperture, and ISO). For those starting out, smartphones with good cameras and manual controls can do the job.
- Lenses: A 50mm f/1.8 lens is great for food photography as it allows you to achieve a shallow depth of field, making the food stand out sharply against a blurred background.
- Tripod: To avoid camera shake and ensure stability, a tripod is essential, especially for low-light situations where longer exposure times are necessary.
- Reflectors and Diffusers: A simple white reflector can bounce light back onto the food, while a diffuser softens harsh light and reduces shadows.
5. Composition and Plating: The Key to Visual Appeal
The way food is presented plays a significant role in how it appears in photos. Here are a few plating tips to make your dishes shine:
- Layer and Stack: Layering your ingredients or stacking them can create a sense of height and visual interest. Try stacking a burger, building a pile of pancakes, or layering a bowl of pasta.
- Use Negative Space: Give your dish room to breathe. Negative space around the plate allows the food to stand out and prevents the photo from feeling cluttered.
- Add Garnishes: Fresh herbs, a drizzle of sauce, or a sprinkle of seasoning can elevate your dish’s visual appeal. Don’t overdo it, but a simple touch can add elegance and flair.
6. Playing with Angles and Perspectives
The angle you shoot from can completely transform how a dish is perceived. Here’s how you can use different angles to your advantage:
- Overhead (Flat Lay): This is ideal for food spreads, bowls, and dishes with multiple components. Overhead shots allow the viewer to see the full presentation of the dish, making it perfect for Instagram-style photos.
- 45-Degree Angle: This angle works well for dishes like burgers, sandwiches, or pasta, where you want to show both the food and its layers. It gives depth to the shot and allows the viewer to see the side of the dish as well as the top.
- Close-Ups: If you want to focus on texture or intricate details, close-up shots can highlight the beauty of the ingredients—think of the glossy shine on a chocolate cake or the texture of a crispy crust.
7. Color and Contrast: Creating Visual Impact
A good food photo is all about creating balance, and color plays a huge role in that. Use contrasting colors to make your food pop:
- Complementary Colors: A pop of green from fresh herbs on a vibrant red sauce or golden brown toast with bright yellow butter creates a beautiful contrast.
- Avoid Overcrowding: While vibrant color is important, too many colors can overwhelm the viewer. Stick to a cohesive color palette that complements the dish.
8. Editing Your Food Photos
After capturing your shots, editing can make a world of difference. Here’s how to perfect your images:
- Adjust Exposure: Brighten your image to make the food look fresh and appealing.
- Increase Sharpness: Enhance textures by sharpening details—especially for dishes with interesting elements like fresh herbs or grains of salt.
- Enhance Colors: Boost the vibrancy of the food without making it look unnatural. Use subtle adjustments to saturation and contrast.
- Cropping: Crop the image to eliminate distractions and make the food the focal point.
Popular editing tools include Adobe Lightroom, Snapseed, and VSCO for mobile-friendly options.
9. Telling a Story Through Food Photography
Food photos are most impactful when they tell a story. Whether you’re creating a rustic vibe with a homemade meal or capturing the elegance of a fine dining dish, the way you present the food tells a tale.
- Context Matters: Set the scene with props like a wine glass, a cozy table setting, or ingredients related to the dish. This adds depth and context, making the dish feel more relatable.
- Emotional Connection: Think about the emotions the dish evokes. Is it comfort food? A celebratory meal? Use lighting, props, and styling to communicate that emotion to your audience.
Conclusion
Mastering food photography is an exciting journey that involves learning to appreciate the artistry of food, lighting, composition, and detail. By understanding how to highlight the beauty of your dishes through lighting, angles, plating, and editing, you can create photos that don’t just show food—but make the viewer feel the experience.
So, the next time you prepare a dish, take the time to think about how you can photograph it to showcase its beauty. With a little creativity, patience, and practice, you’ll be on your way to mastering the art of food photography.
No Comments